
Lab 0 — Getting started with Python
Welcome to Lab 0! We start counting things with 0 in computer science, and you’ll see why as you learn to program.
In this lab you’re going to practice:
- using the command line to navigate the file system on your computer
- using conda to setup your Python environment
- using print() and input() statements in a Python program
Using the command line
Setup: Installing a terminal
We are going to start with the power of the command line. This is where you can run a program. We also hope to demystify some of how computers work.
To use the command line, you need to install a terminal, a program that will let you run commands on a command line.
Windows
If you are a Windows user, download and install git for windows, which includes Git BASH. This is a great terminal emulator that will let you use the command line. As a bonus, you will get Git, which you will need once you gain more experience.
MacOS
For MacOS users, download and install iTerm2. You already have a built-in terminal, but this one is much better.
Learn: Using the command line
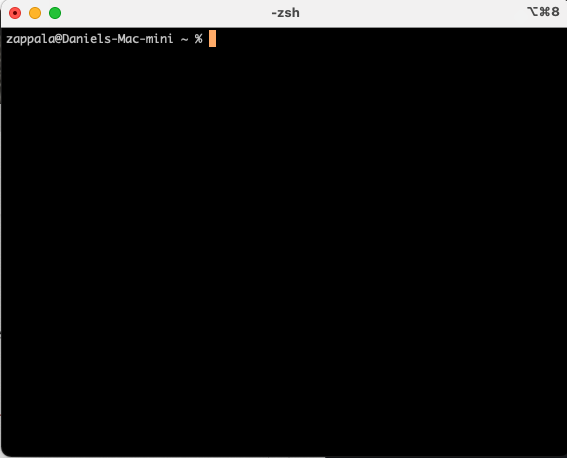
Open GitBash or iterm2. You should see a command line prompt. Mine looks like this:
Let’s try a few commands:
pwdpwd stands for “print working directory”. This will show you where you are in
your file system. Mine tells me I am at Users/zappala.
Notice that file system paths start with /. We call this the “root”. From
there, every / will separate directories. To put it another way, I am in the
zappala directory, which is inside the Users directory. Here is a diagram to
show you how the file system is organized. This is what the file system on my
Mac looks like:
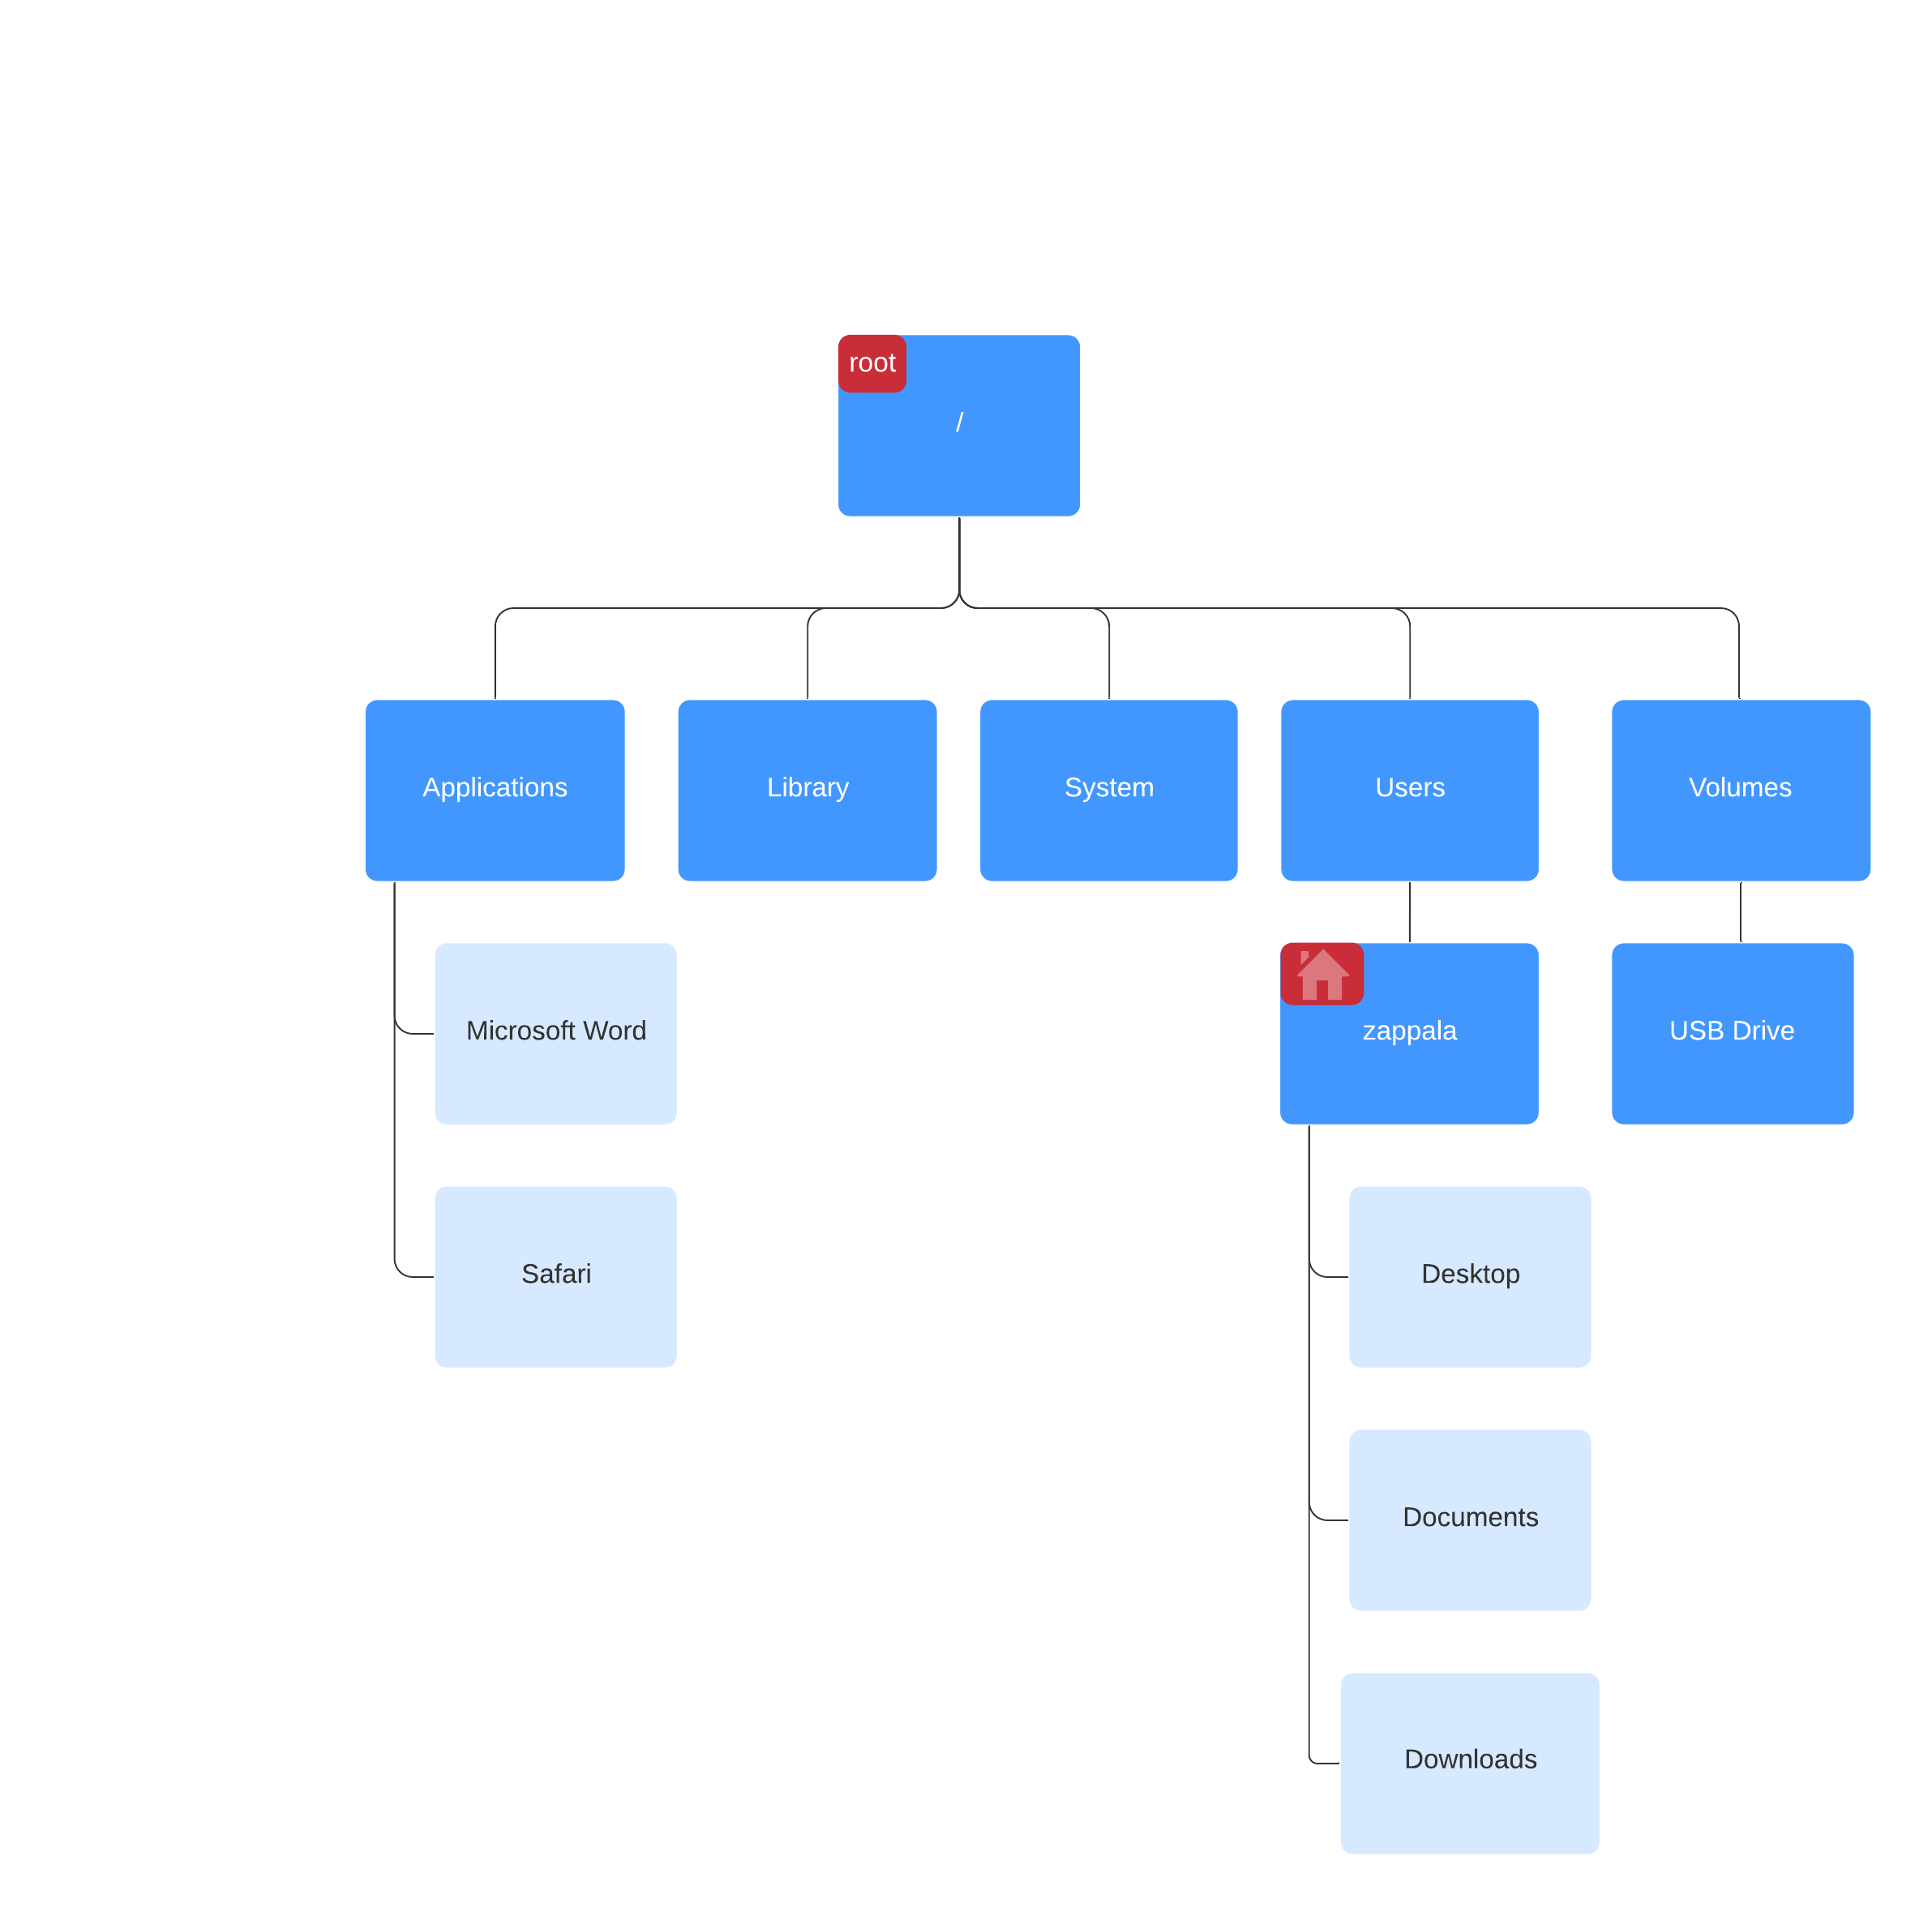
Notice I have marked an icon for the “root” and an icon for “home”, where you rhome directory is.
Your Windows system will be similar, but with different directory names. In
Windows, each drive has a root, and paths use slashes, so your home directory
might be C:\Users\zappala.
You have probably seen similar paths when you use the web. For example, this lab
might be at https://cs110.byu.edu/labs/lab0. Notice the / separates parts of
this path, with a special https:// at the beginning. The people who created
the web were used to specifying file system paths like this.
Now let’s take a look around:
lsls stands for “list”, meaning list the files in the working directory.
You should see lots of things in your home directory. I see:
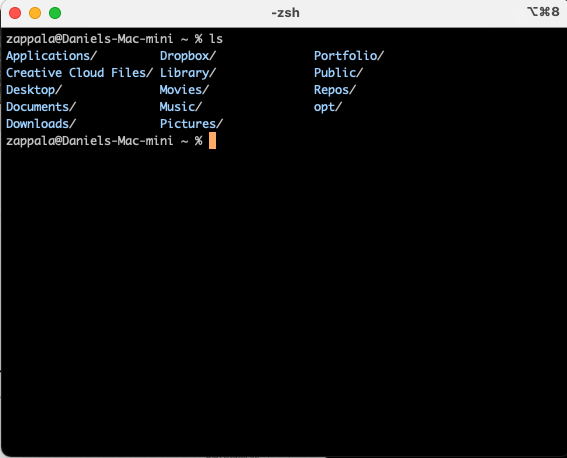
Anything with a / at the end means this is another directory. Let’s change
directories!
cd Documentscd stands for “change directory”, meaning you will move into the directory you list. After I run this command, I see:
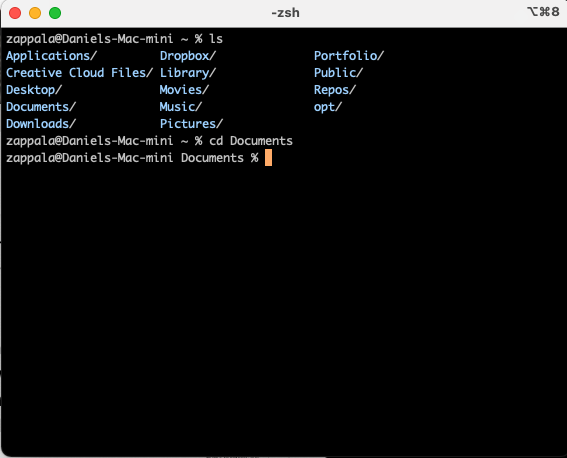
Notice my prompt changed to indicate which directory I am in. If you run the
ls command again, you should now see the files in the directory you navigated
to.
You can always go back to your home directory with cd. You can also navigate
up one level by using:
cd ..You should now be back one level in the file system path.
Using conda
Background: Python environments
We first need a Python environment. Our environment contains:
- Python, which will run our code
- any packages we need to run our code
This may sound weird, but we need Python (a program) to run our code (which is also a program). And sometimes we borrow code that other people wrote, called packages, which are, you guessed it, more programs.

(For fun, see turtles all the way down on Wikipedia)
Setup: Installing conda
So let’s get Python installed. To do that, we are going to use conda. This is a program that installs other programs! It manages all your Python environments for you.
Please see our guide to installing conda.
❗️ You may have Python on your laptop already. Do this anyway.
Mac laptops usually come with Python, but it is an old version (2.7) and we want to use a newer version (3.9).
Even if you have Python installed already, conda will install it again and then only activate it when you tell it to. This way you can be sure to have the version of Python we are teaching (3.9) and avoid messing up any other Python installation on your laptop.
Learn: Using conda
Create a directory
Use Windows Explorer or the Finder to create a directory where you can store
code for this class. For example, you probably want a directory called
Documents/cs110.
Inside this directory, create another one called lab0. So you should have
Documents/cs110/lab0.
Open a terminal in a specific directory
You could probably use cd to find where the program is that you wrote with
atom. Let’s show you a shortcut you will find helpful.
Windows
Open Windows Explorer and navigate to where you stored your hello.py file.
Then right-click and choose Git Bash Here.
MacOS
Open the Finder and navigate to where you stored your hello.py file.
Create a new conda environment
Navigate to Documents/cs110/lab0, right-click on the folder where it is
stored, choose Services and then choose New iTerm2 Window Here. In the
terminal, run this command:
conda create --name cs110 python=3.9This will create a new environment called cs110 and install Python version 3.9 into this environment:
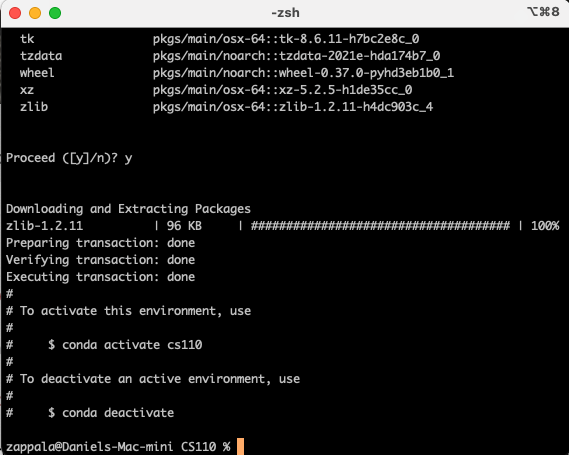
Now you can activate this environment, as it shows you:
conda activate cs110Notice how your prompt changes to reflect which conda environment you are currently using.

Using atom
Setup: Installing atom
Now we need a text editor (something to write our programs in). You can use any text editor if you already have one (for example Notepad++ on Windows), but we will show you how to use atom.
Visit the atom website, download and install atom, then start it.
You should see the startup screen:
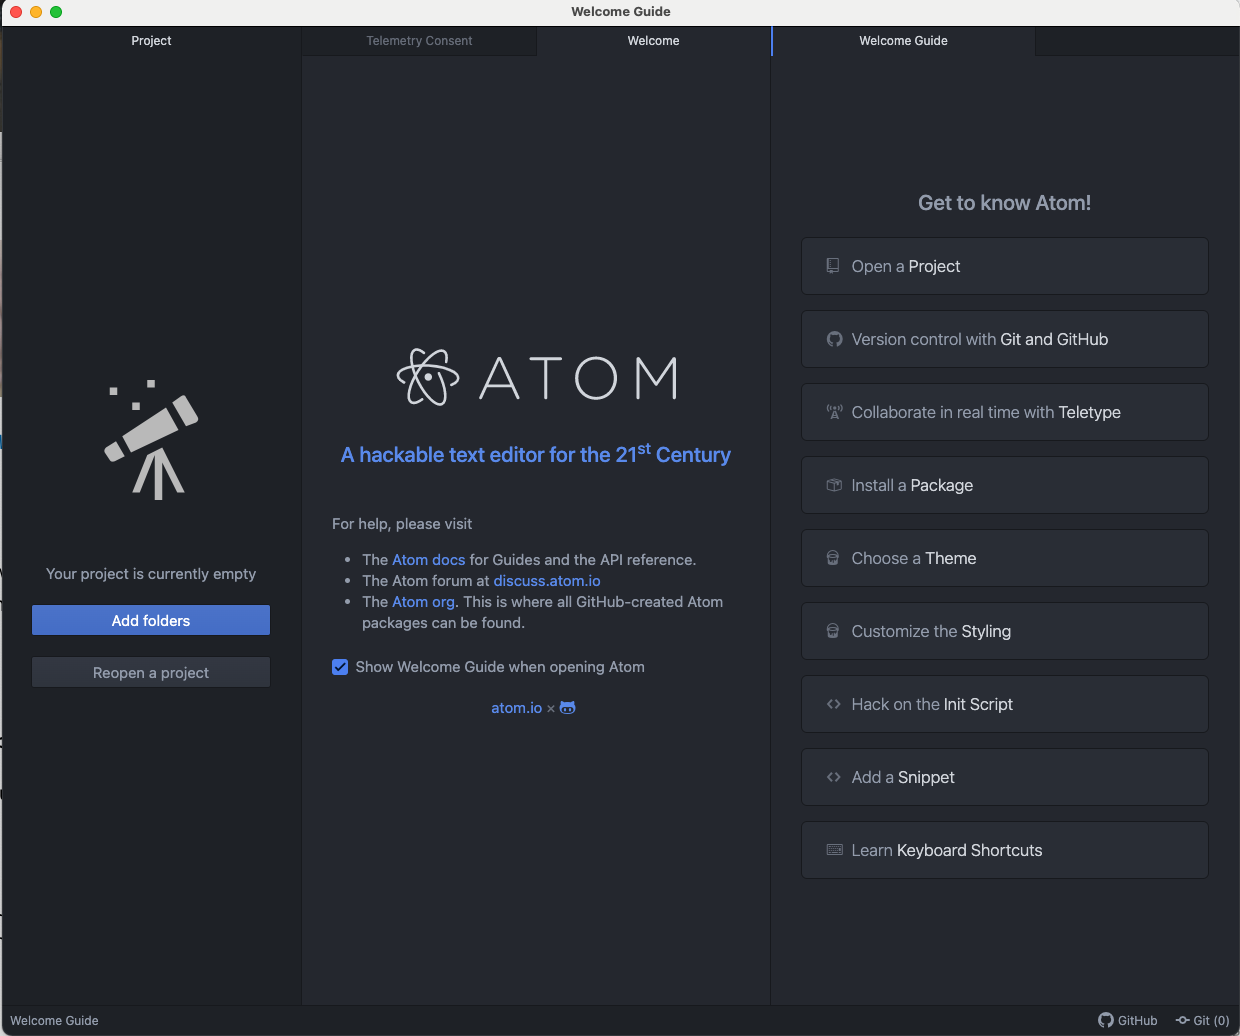
If you click on the Telemetry Consent window, you can choose Yes or No and
this will close that window. You can then uncheck the box to show the Welcome
Guide every time and close both Welcome Guide windows.
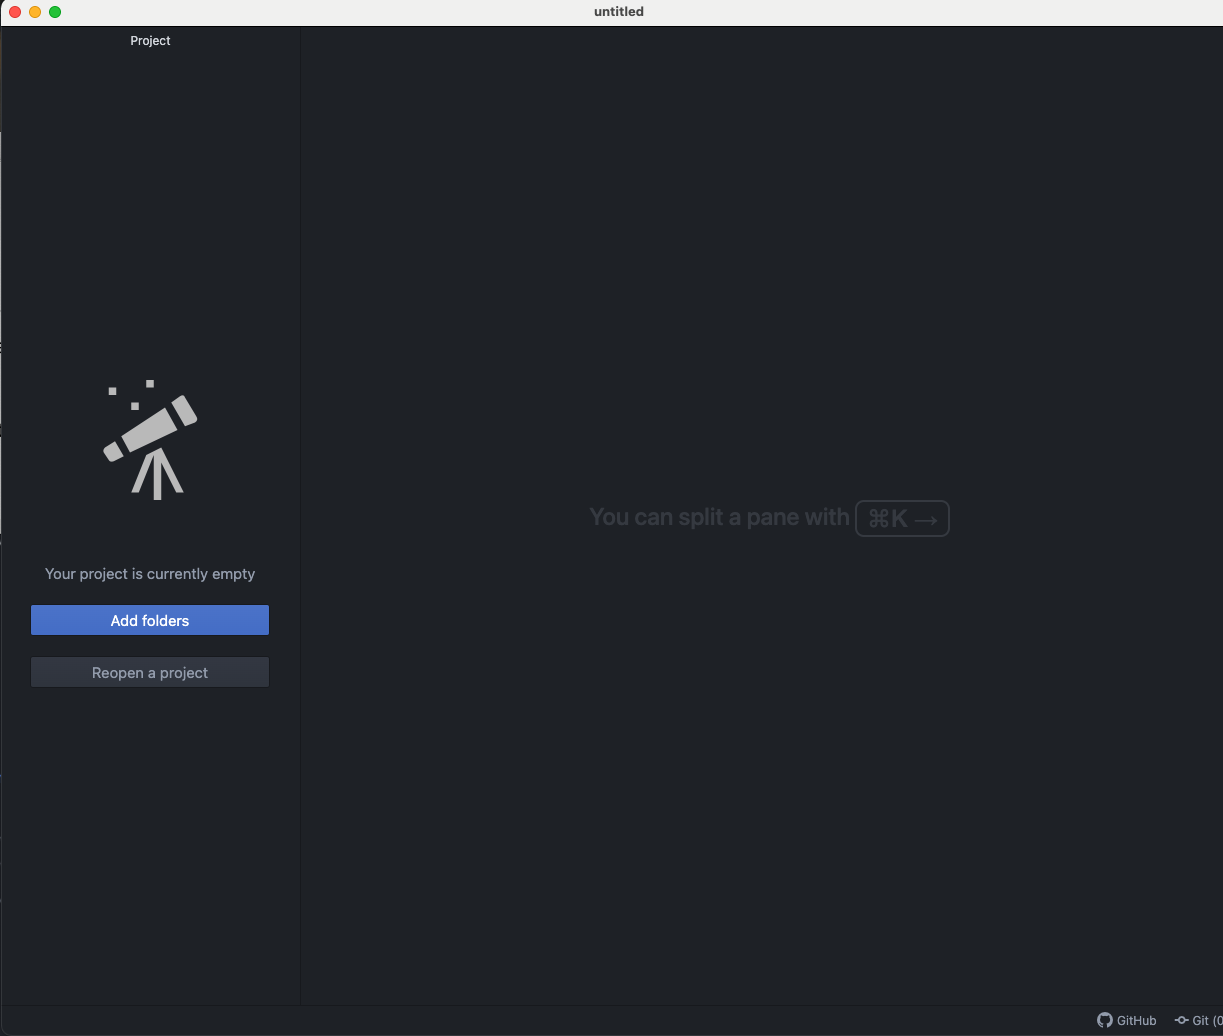
Now you have a blank atom editor:
Learn: atom
Use the File menu to choose New File. In the file, type:
print("Hello World")This is the same thing we did in lecture.
Save this file by using the File menu to choose Save As. Put it in a
directory, such as cs110 in your Documents directory. Name the file
hello.py.
⭐ Congratulations you have written your first program!⭐
We’re going to show you how to run this. :-)
Learn: Running a program
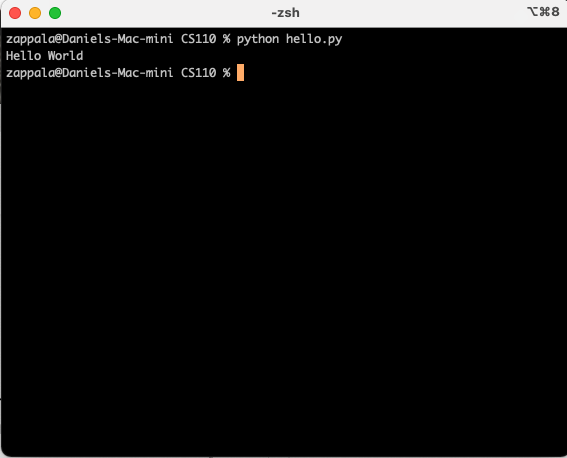
Now you can run your Python program from the command line. Using the terminal you have open from earlier, type:
python hello.pyYou should see your program run:

Using print()
Playing around
Play around with this! What else can you print out?
- What happens if you change “Hello World” to something else?
- What happens if you use two or more print statements?
- What happens if you leave off a parenthases?
Show the TA some things you were able to do.
Using input()
The Joy of Programming
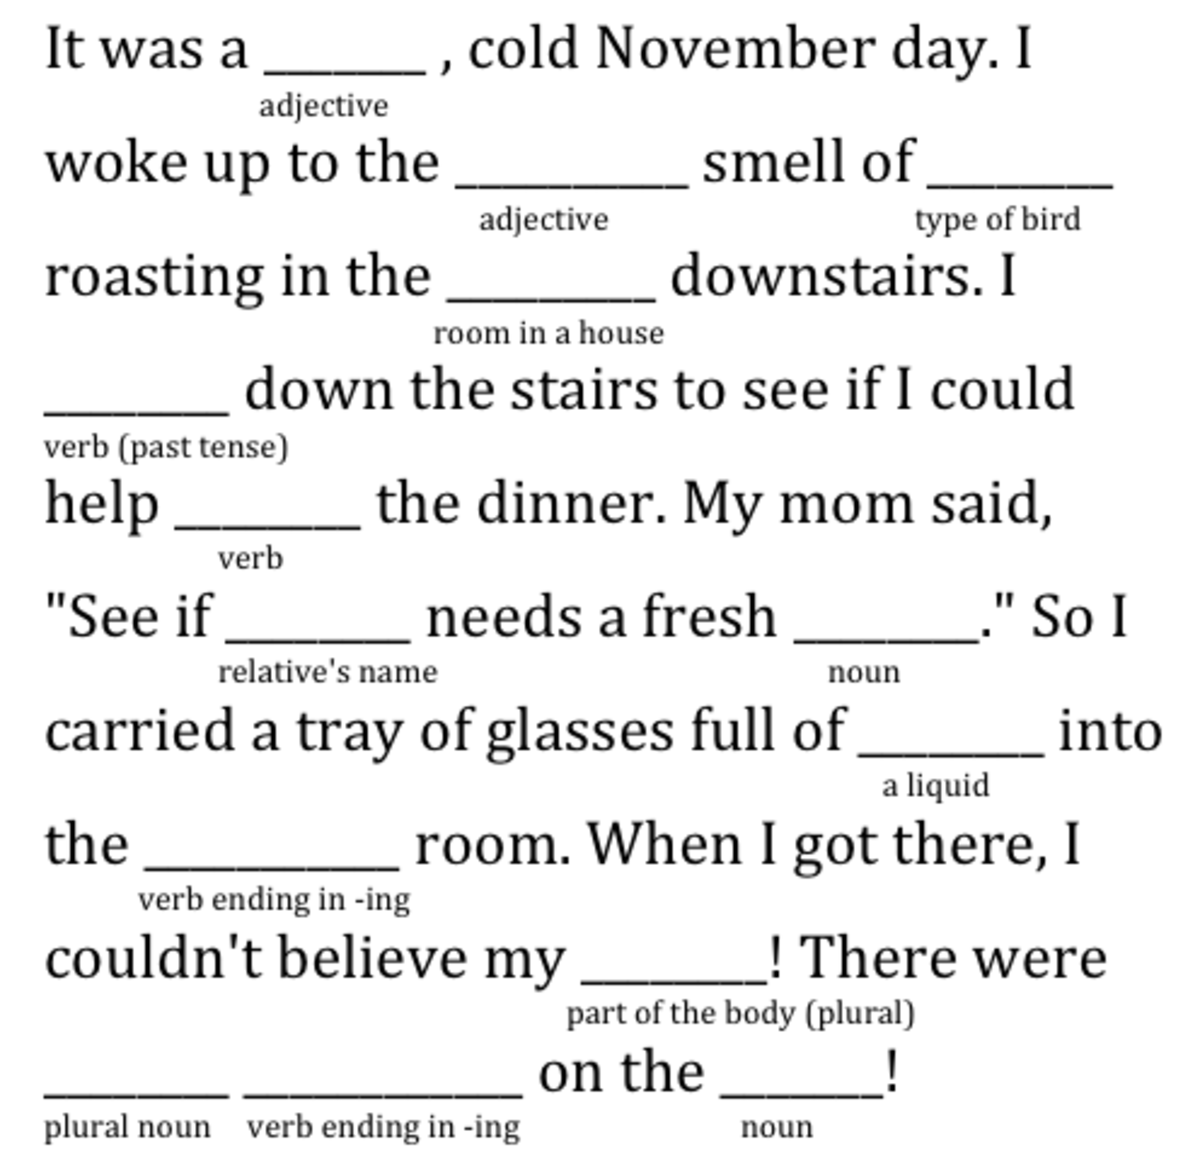
Let’s play around with Mad Libs. For example:
- Ask the user for some words, using
input - Store the input in variables
- Use
printto write the madlib to the screen
Here is an example of what this could look like:
(cs110) ~/Documents/CS110/class % python madlib.py
Welcome to my mad lib! Follow the prompts to enter some words.
Feeling: giddy
Noun: banana
Name of a city: Paris
Verb: laugh
Food: pizza
I was feeling giddy.
Classes were starting and I really needed a banana, or maybe a vacation to Paris.
I sighed. I guess I was going to laugh instead, and eat some pizza.
(cs110) ~/Documents/CS110/class %
Remember how input works, from our lecture time:
noun1 = input("Type a noun")
noun2 = input("Type another noun")
verb = input("Type a verb")
adverb = input("Type an adverb")

print(f"The {noun1} {verb} into the {noun2} {adverb}")
Lessons
What we want you to get from this lab:
-
A program is just code in a file. You can execute it from the command line using
python. -
You had to install a few things to get this going, but the code itself is not that hard.
-
You need a code editor to write code. Code editors have lots of features to make your life easier that we will explore later.
-
With Python, you need something to help you manage Python environments, and
condais a handy tool that helps you do this. -
The command line helps you be more powerful.
-
Files on your computer are stored in a tree, starting at the root
/.
Points
| Task | Description | Points |
|---|---|---|
| Command line | Show the TA that you can use pwd, ls, and cd in a terminal | 2 |
| Hello World | Show the TA that you wrote hello.py in Atom, that you have a terminal with an active conda environment, and that you can run python hello.py | 2 |
Playing with print | Show the TA some things you did with print | 1 |
| mad lib | Show the TA a mad lib you wrote using print and input | 3 |
| variables | Explain to the TA how a variable works | 2 |