
Lab 5 — Making New Images
In this lab, you will make new images by modifying an existing image. For most
of these problems you will need nested for loops to loop over all the pixels
from left to right and top to bottom.
Getting started
-
Create a new folder called
lab5for this lab. -
Write your code in a file called
my_images.py, using function names as we describe below. -
Open the terminal and install the BYU Image library:
pip install byuimageAqua Bars
For this problem, write a function aqua_bars(filename, bar_height). This
function takes two parameters: (1) the filename of an image and (2) an integer
bar height. It returns the same image with horizontal aqua colored bars of the
given size on top and bottom.
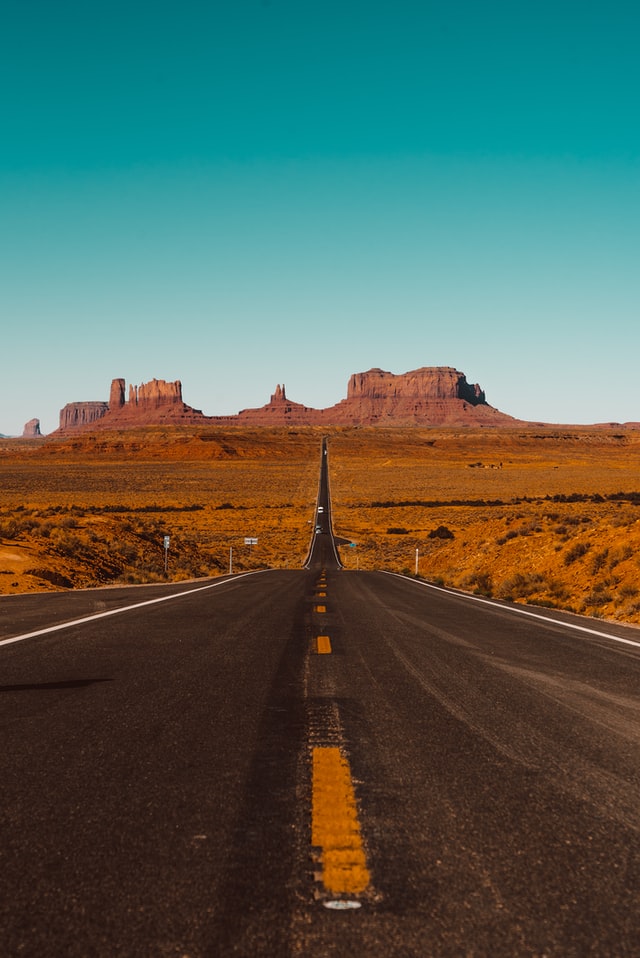
For example, if you start with this image:
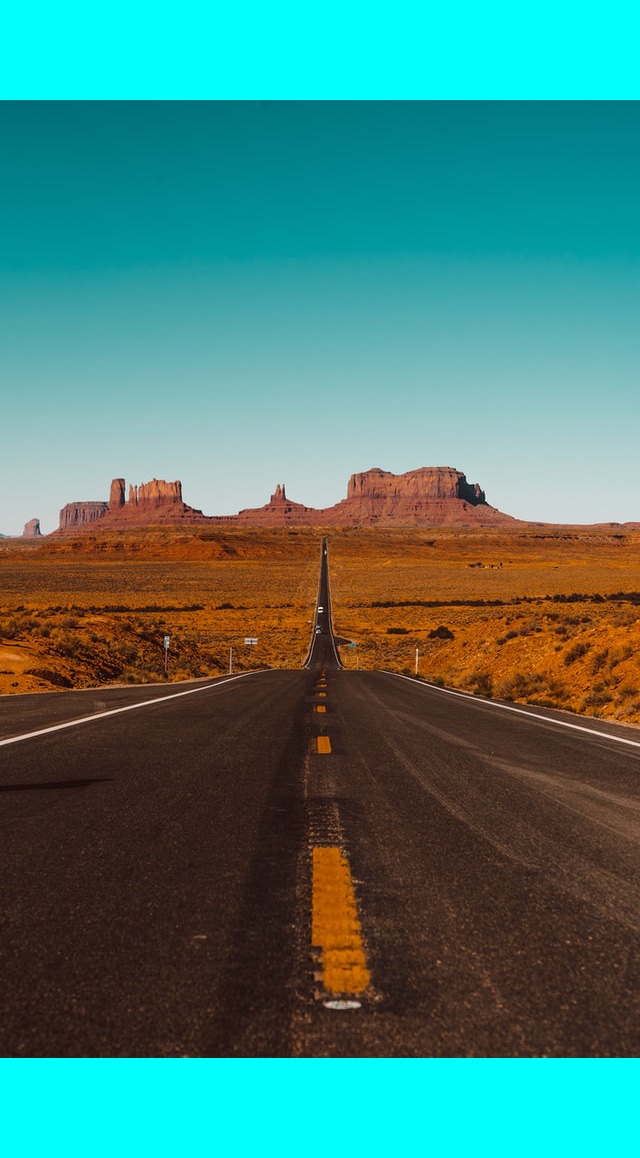
You want your code to be able to create an image that looks like this:
Finding images
Start by downloading an image that you want to use for testing your code. I like to use a site called Unsplash because they offer free photos. You should always practice following copyright rules, so use a site like Unsplash instead of Google Images. Skip over the premium images that are shown on Unsplash and use the free ones.
⚠️ Download the small version so your code will run faster (you will have fewer pixels to loop over).
I searched on Unsplash for Utah and found this nice image:
Organization
Be sure to start your code with
from byuimage import ImageDownload the image you want to use and place it in your lab5 directory. You
want to be sure it is in the same place as your Python script.
Write your function called aqua_bars.
You should be able to call aqua_bars() like this:
aqua = aqua_bars("utah-road.jpg", 100)
aqua.show()
Writing the function
You need to create a new, blank image, tall enough to hold a copy of the
original image, plus extra space at the top and bottom for horizontal,
aqua-colored bars. The filename parameter tells you the filename of the
original image. You create a new blank image with:
new_image = SimpleImage.blank(width, height)The bar_height parameter tells you the height of each bar in pixels.
Use nested for loops to make the bar on the top. A white pixel can be changed to aqua by setting its red value to 0.
Use more nested for loops to make the bar on the bottom.
Remember that you need to copy the original image into your new image pixel by pixel (otherwise you will just have a blank white image with bars on top and bottom.
Testing
Be sure to test your code on a variety of images with different shapes and sizes. Your code should work for any image we try it on.
Do not hard-code the image height or width.
Flipped
For this problem, write a function flipped(filename). This function takes a
parameter that is the filename of an image and returns an image that is has a
vertically-flipped copy of the original image.
For example, if you start with this image:

the result should be:

Put your code in my_images.py.
You should be able to call flipped() like this:
aqua = flipped("delicate-arch.jpg")
aqua.show()
Flipping an image
Here is a visual to help you picture what needs to be done to flip an image:

Let’s imagine you are copying a pixel from the original image at location
(x, y). Then the corresponding pixel in the flipped image is at
(x, imageHeight - y - 1).
Testing
Be sure to test your code on a variety of images with different shapes and sizes. Your code should work for any image we try it on.
Do not hard-code the image height or width.
Flipped2
For this problem, write a function flipped2(filename). This function takes a
parameter that is the filename of an image. It returns a flipped image, like the
previously flipped() function, but also paints over the left and right 50
pixel wide margins.
Here is an example of what it should look like:

You can re-use the code you wrote for flipped().
To paint the purple color shown, you can set the green portion of the pixel to zero.
Testing
Be sure to test your code on a variety of images with different shapes and sizes. Your code should work for any image we try it on.
Do not hard-code the image height or width.
Optional
Painting the margins using multiple nested for loops (one to loop over the rows Y, the other for the columns X) is fine. You can have one pair of nested loops for copying the image, another for the left bar, and another for the right bar.
However, for a challenge, you might consider one for loop that loops over all of the rows Y, and then three loops inside this that loop over the different column ranges X that you need — the left bar, the middle for the picture, and the right bar.
Get the code working first, then try modifying your code to do it this way.
Lessons
What we want you to get from this lab:
-
You understand how to loop over a two-dimensional array of pixels
-
You understand how to modify the red, green, and blue portions of each pixel
-
You feel more confident writing functions that take parameters
-
You think carefully about pre-conditions and post-conditions for functions and loops
-
You can clearly document your functions with docstrings
-
You can figure out what went wrong when something unexpected happens
-
Hopefully you had fun!
Points
| Task | Description | Points |
|---|---|---|
| Aqua Bars | Your solution works | 3 |
| Flipped | Your solution works | 3 |
| Flipped 2 | Your solution works | 2 |
| Documentation | All functions have good docstrings | 2 |