
Installing and Using Conda
Conda is a system for managing Python packages. Packages provide you extra functionality that doesn’t come standard with Python. For example, later this semester we will use the matplotlib package to visualize data.
Conda creates an environment for you. The environment includes (1) Python and
(2) Python packages. Different programs you write may need different versions of
Python or different Python packages. Conda will help you manage the environment
needed for each program in simple way.
This guide will show you how to install and use conda.
Installing Conda
We will be showing you how to use miniconda, which is a small package that can help you manage your Python environments.
-
Visit the miniconda installaton page.
-
Download the Python 3.9 installer.
a. If you use a Windows laptop, choose the Windows installer for Python 3.9.
b. If you use an older Apple laptop, choose the macOS installer for Python 3.9.
c. If you use a newer Apple laptop, choose the M1 install script. For this to work, you need to use your terminal to run:
cd Downloads, and thensh Miniconda3-latest-MacOSX-arm64.sh. -
Start the installer, and click through all of the dialogs.
Using Conda
Use conda create to create a new Python environment:
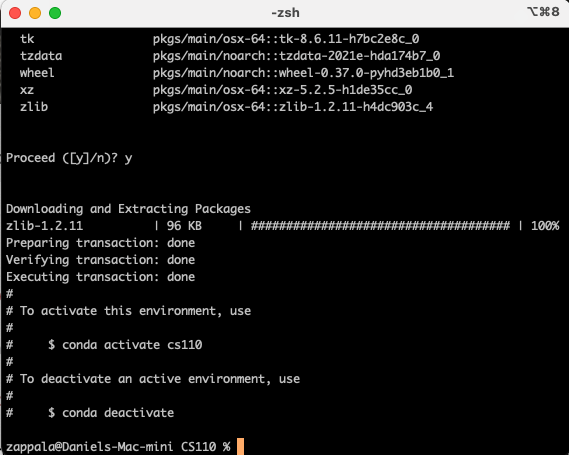
conda create --name cs110 python=3.9Using --name cs110 names the environment and using python=3.9 specifies the
Python version. This will install Python version 3.9 in your new environment.
Use conda activate to activate a Python environment:
conda activate cs110You specify the name of the environment you want to use. Notice how your prompt changes to reflect which conda environment you are currently using. Since we asked for Python 3.9 in this environment, we will be using that version of Python, even if other versions are installed elsewhere on our laptop.
